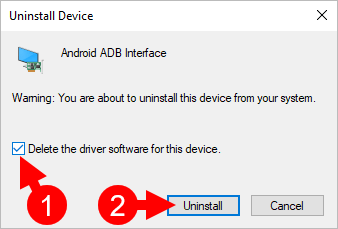
How to Use and Work with ADB Driver
ADB (Android Debug Bridge) is a versatile command-line tool that allows you to communicate with and control Android devices from a computer. It is primarily used for debugging, installing apps, and performing various system-level operations like unlocking bootloaders, rooting, or flashing custom ROMs.
To use ADB, you’ll need to install ADB drivers on your computer and enable developer settings on your Android device. Here’s a step-by-step guide on how to use and work with the ADB driver:
Step 1: Install ADB Drivers
- Download ADB Drivers:
- On Windows, you can download ADB from the Android SDK Platform Tools or the ADB Drivers package.
- For Mac/Linux, ADB is typically pre-installed as part of the Android SDK, but you can install it through Homebrew on Mac (
brew install android-platform-tools).
- Install the Drivers:
- On Windows, extract the zip file and follow the instructions to install the drivers.
- For Mac/Linux, you can use the terminal to run ADB commands once the SDK is installed.
Step 2: Enable Developer Options on Your Phone
- Go to Settings > About Phone.
- Tap on Build Number 7 times to enable Developer Options.
- In Developer Options, enable USB Debugging and OEM Unlocking (if required for specific operations like unlocking the bootloader).
Step 3: Connect Your Device
- Connect your Android device to your computer using a USB cable.
- When prompted on your phone, grant permission for USB debugging by selecting “Allow” in the popup.


